How to use
Components
Step 1. Copy the Component
On any Component Card, click the Copy button.
This saves the full Component structure to your clipboard — like copying a design block.


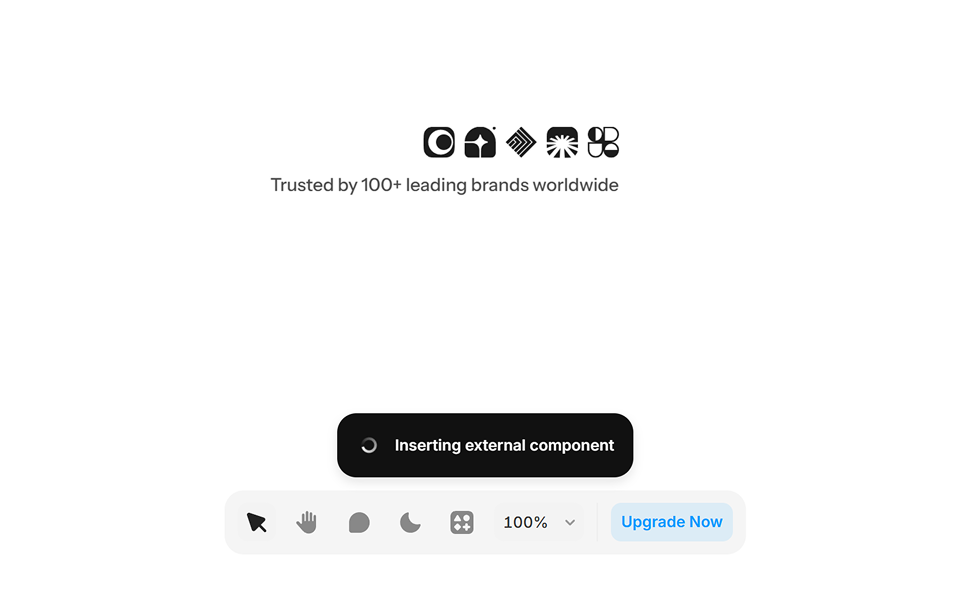
Step 2. Paste in Your Project
Open your Framer project.
Go to the page or canvas where you want the Component.
Select the Frame or Breakpoint and press ⌘ Cmd + V (Mac) or Ctrl + V (Windows).
The Component will appear instantly on your canvas and automatically imported into your project.
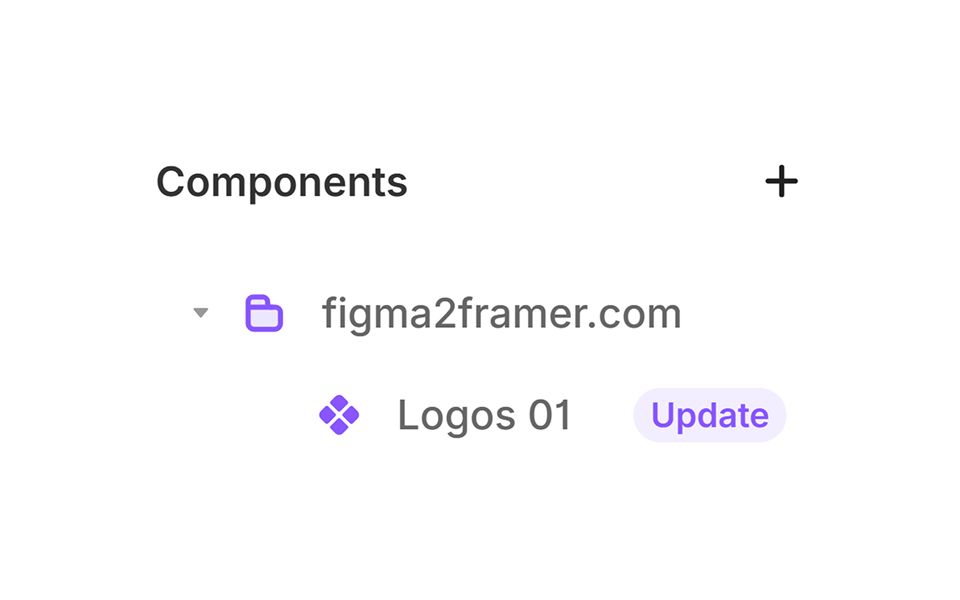
Tip:
Before using it, check if there's an update available.
You'll find all copied Components from figma2framer.com in Assets → Components → figma2framer.com.
From there, drag and drop them into any page.
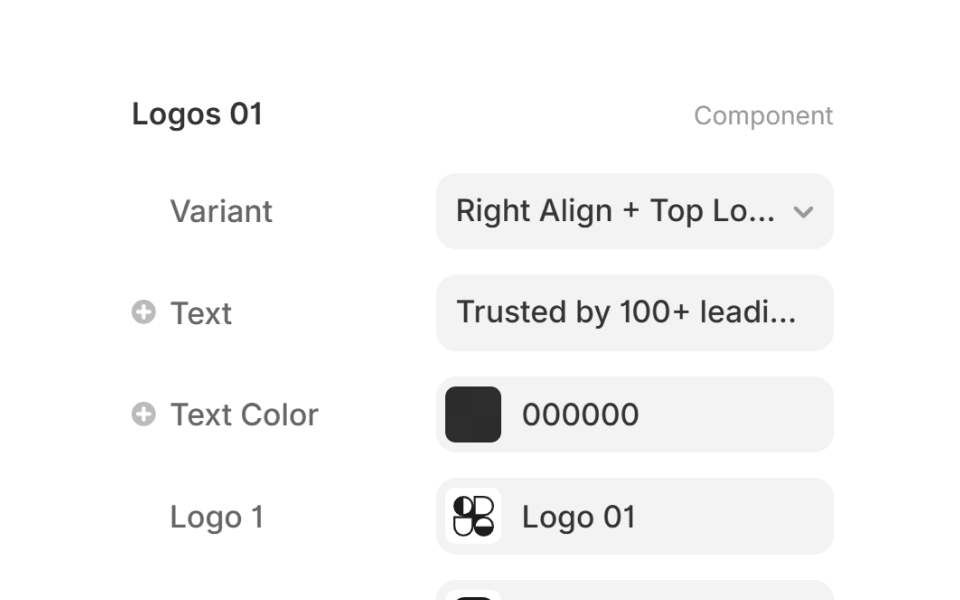
Step 3. Customize
After placing a Component, you can edit Variants, Text, and Colors using built-in Variables.
Supported Variables can also be connected to your CMS for dynamic content.

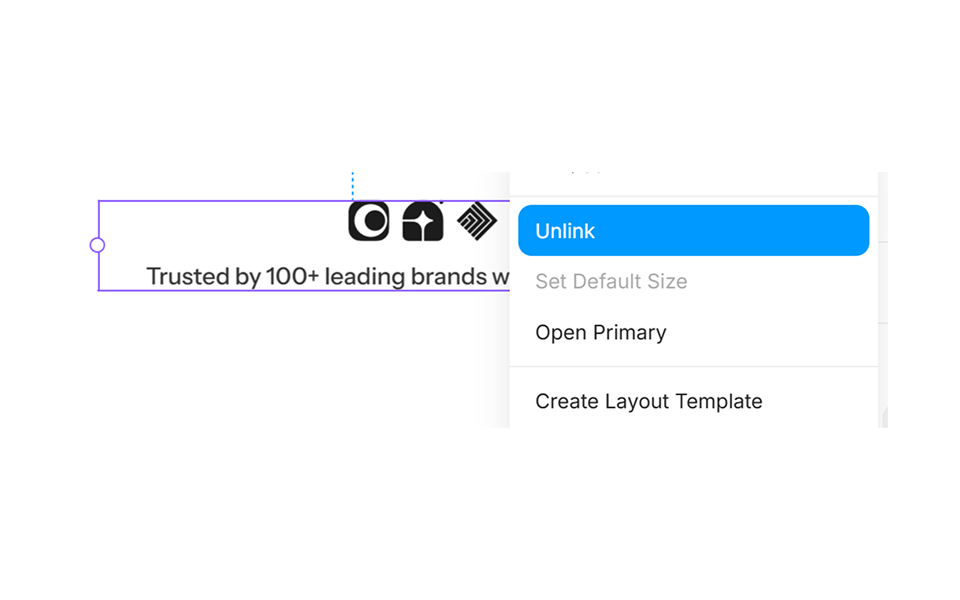
Step 4. Unlink and Unlock more customization
Figma2framer.com Components follow best design practices, but sometimes certain projects need extra flexibility.
In that case, you can Unlink a Component to customize it freely.
This converts it into a regular group of layers that you can edit however you like.
Tip:
When you Unlink a Framer Component, a duplicate is created in your project. Assets → Components → Project.
Any changes to duplicated Component only apply to that copy.
Future updates from figma2framer.com will not sync with the unlinked version.
That's it!
You've copied, pasted, and customized your first Framer Component from figma2framer.com.
Happy Designing! 🎉